Thursday, October 30, 2014

Pass the Brains Please...


"Pass the brains please" has been heard
 in our dining room for 25 years now.
This year was the quarter century mark for our annual

 "SPOOOOOKY DINNNERRRRRR"!


I started this tradition when our children were very young. I myself have no problem eating "snot salad", "blood and bones" or "fingers and eyeballs". Last year we even added a "brain" to the menu...


Spooky dinner is not for wimps. It IS a ton of fun and frolic, but it is also a labor of love on my part. Some things are worth the effort!


So we usually hold the dinner on a Monday night. That way I have the day to make preparations. Most of the foods can be prepared a day in advance, but the decor...
      HAS to be a haunted happening that no one is witness to.


Through the years our children and guests have had to crawl through a spider's lair, creep under the mists of darkness and enter through unknown passages to actually arrive at the dining hall. Bwa ha ha!


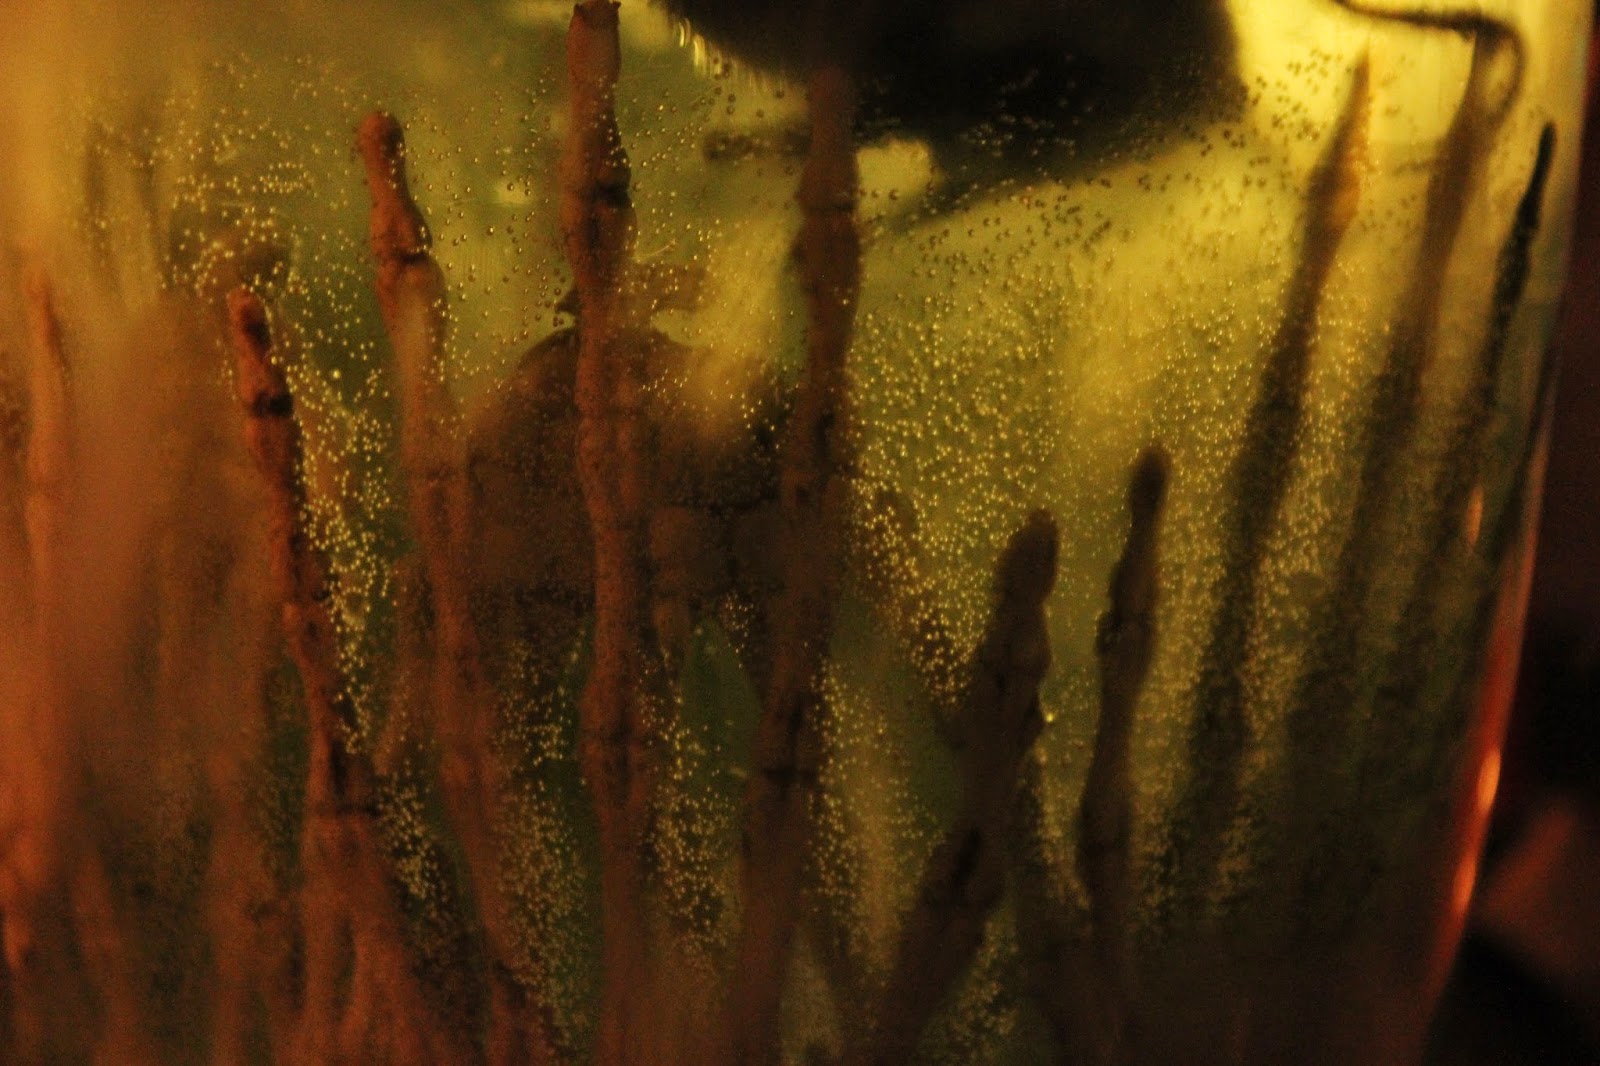
YOU can haunt your hall anyway YOU choose. Mine has always included spider webs with thousands of arachnids , dark and dreary draping over windows, mirrors and openings and the fogs of fear and dread spilling over the table. I often include "floating candles" and "lab" containers with various "body parts" in colored and boiling liquids. (Dry ice is my good buddy for the dinner).
Lighting is always dim and is done mostly with the magic of the flame on a myriad of candles.


Our menu is as follows:
Entrails, with brittle bones served from a mini coffin (meal in a pumpkin with bread bones to form a
      corpse)
Snot Salad-  lime jello acne de pepe salad
Crisp fingers- baby carrots with sliced almond fingernails attached with cream cheese
Gooey Eyeballs- deviled eggs with sliced olive iris and red food coloring "bloodshot effect"
Blood and bones-Bread bones with spicy tomato dip
Brains- carved mini watermelon
Dracs Drugs- mini syringes with red jello in them
Grave diggers delight- Chocolate pudding with crushed oreos and gummy worms
Blood Punch- red Kool-aide with pineapple juice and sprite


Only three rules apply for our ghoulish guests:

1- You must arrive dressed only in black and white wearing an eye mask of your making.

2- You must refer to foods by their proper names when passing. For example; "Please pass the brains", or "entrails please". Crazy voices are encouraged (the Count is often present).

3- FUN is the ONLY ANSWER!


***Parental guidance in suggested. We have had some of the very young set (4 or 5 years of age) be a bit frightened until mommy whacked off a piece of "brain" and bit into it! Just warn your guests LOL!

The tradition has honestly been Spooctacular! We will carry on for another 25 years and perhaps even ...


.................................................Beyond the grave......................................................


Monday, October 27, 2014

Spooky Mantel Banner

Welcome to our haunted house! Mr. Bones is a long time friend. Each year we change up the mantel to add spice to our Halloween decor. But Mr. Bones is a staple. 

This year our new addition is the Spooky Banner.
This was my new creation for my Etsy store. Mine is handlettered with the word spooky. I sell them with Spooky or Boo on them.
I think it adds to the haunted feel for Mr. Bones. If you would like a banner for your mantel then check out my Etsy store  and website HERE.

I also added some cute pumpkins. These were dollar store finds. I spray painted them white and black, then wrapped them with tulle and glued on embellishments.

I like to add a little bling and sparkle to the spooky feeling. I hope you like it. Happy Haunting!


Saturday, October 25, 2014

'Hocus Pocus' books & spells

Our family loves the movie 'Hocus Pocus', and I've always wanted my own spell books. Try as I might, calling out "BBBoooooOOOOKK" did not work. 

This year I decided to take matters into my own hands. So on a Saturday afternoon, with Pandora Halloween music playing, my friend and I set to work. We got 6 hardbound books free from a local exchange. 
Then we gathered other supplies:

  • hot glue gun with lots of glue
  • aluminum foil
  • printer paper or any other paper
  • small piece of fabric (2" x 3")
  • acrylic paint (black, white, orange, and brown)
  • duct tape
  • modge podge
  • Sponge brushes/ make-up sponges
  • simple Halloween shapes (ex. spiders, skull and cross bones, etc)

Instructions for the Eye Book:
  1. Form a one inch ball of foil
  2. Spot glue onto book front about 1/3 the way down and towards the right side of the book cover
  3. Lay fabric piece over foil and duct tape down
  4. Use hot glue gun to create wrinkles and eyelid lines around eye and seams on book. Let glue cool until hard.
  5. Once finished with hot glue, paint over book cover with modge podge. 
  6. Apply torn paper pieces to wet modge podge then paint over paper layer with modge podge
  7. Mix brown paint 1 to 4 with modge podge on a paper plate. Paint mixture over entire book cover. Allow to dry
  8. Using sponge brush and orange paint tap brush lightly in orange paint, then tap lightly to center areas between scars and seams. Allow to dry.
  9. Using sponge brush or make-up sponge shade seams by dabbing on black or dark brown paint until desired effect is reached
  10. With a small brush, paint eye
  11. Shade the edges of the book with black and brown paint dabbed on

For other books, use a glue gun to add any raised designs to book cover. Then paint on a layer of modge podge. Smooth foil over entire book cover while modge podge is still wet. Allow to dry. Follow painting procedure as with Eye Book. 

We made 6 books for about $3 each.

My BBBBOOOOOOOKKKKKK finally came home!